

Whitepages is one of many data brokers that collect personal information from various sources, such as public records, online activity, and third-party data providers. This information is then stored and made publicly accessible, which means anyone can look you up. The good news is that you have options. Here’s a quick walkthrough on how you can fight back and opt out of Whitepages to protect your privacy.
Step 1. Search for Your Name
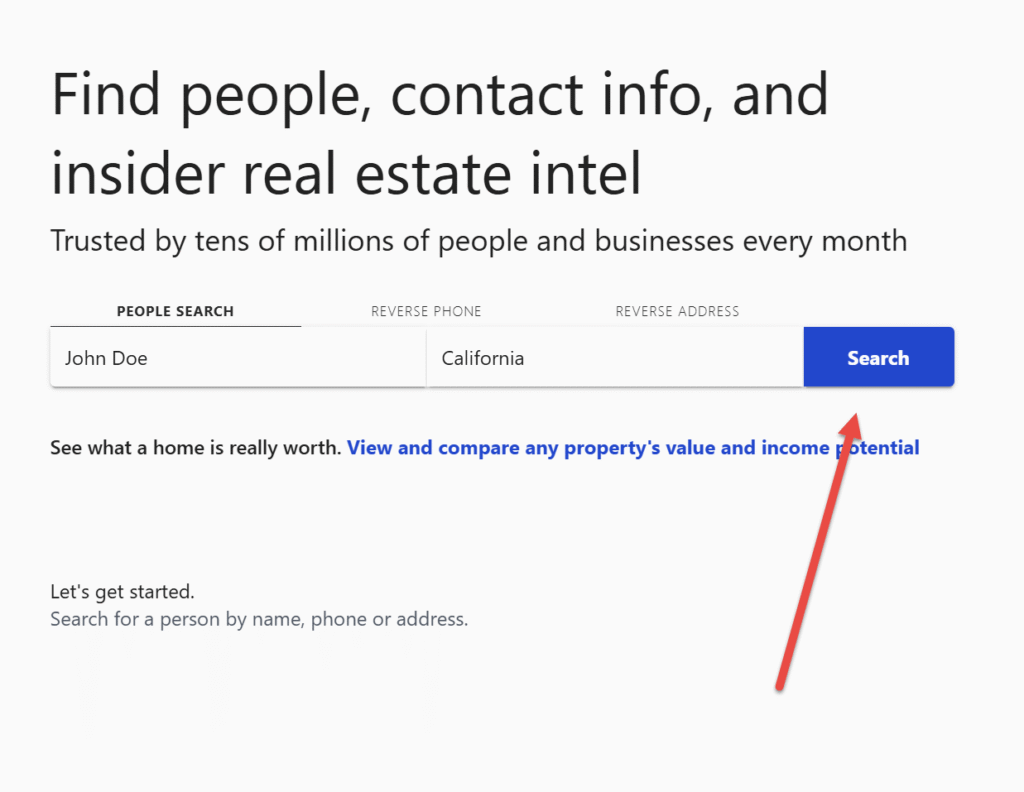
Start by visiting whitepages.com Enter your full name into the search bar. To narrow results, type in the state where you currently live or the state you want to search. For example, let’s pretend we are searching for “John Doe” in California.
Step 2. Review the Results
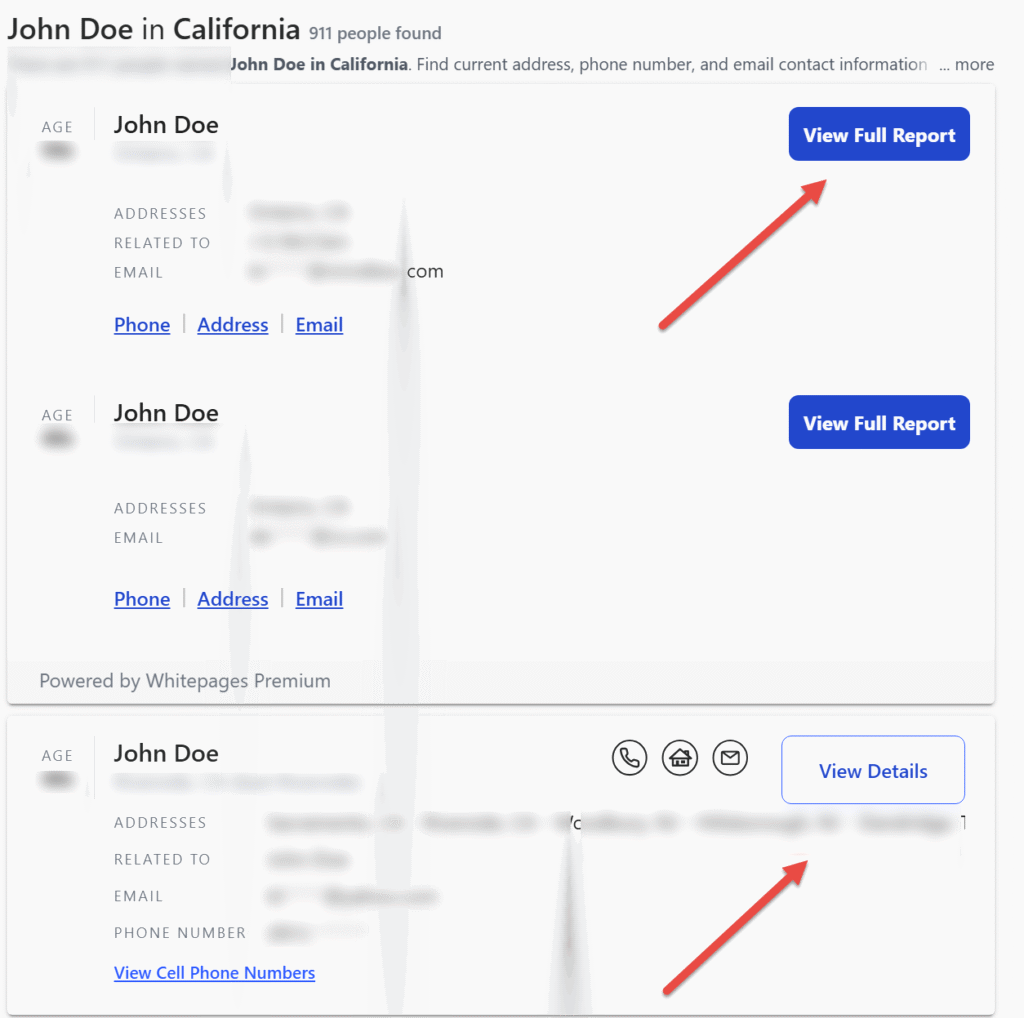
Depending on how common your name is, you might see one or many listings. Each result usually includes a city, age range, and sometimes even relatives’ names to help you identify the correct listing.
You’ll notice two different options on the results page:
View Full Report – This is part of Whitepages’ paid service. You’ll have to sign up and pay to see the full details.
View Details – This is the free option. For the purpose of removal, we only need this free link.
Click on View Details for the record that matches your information.
Step 3. Copy the RUL
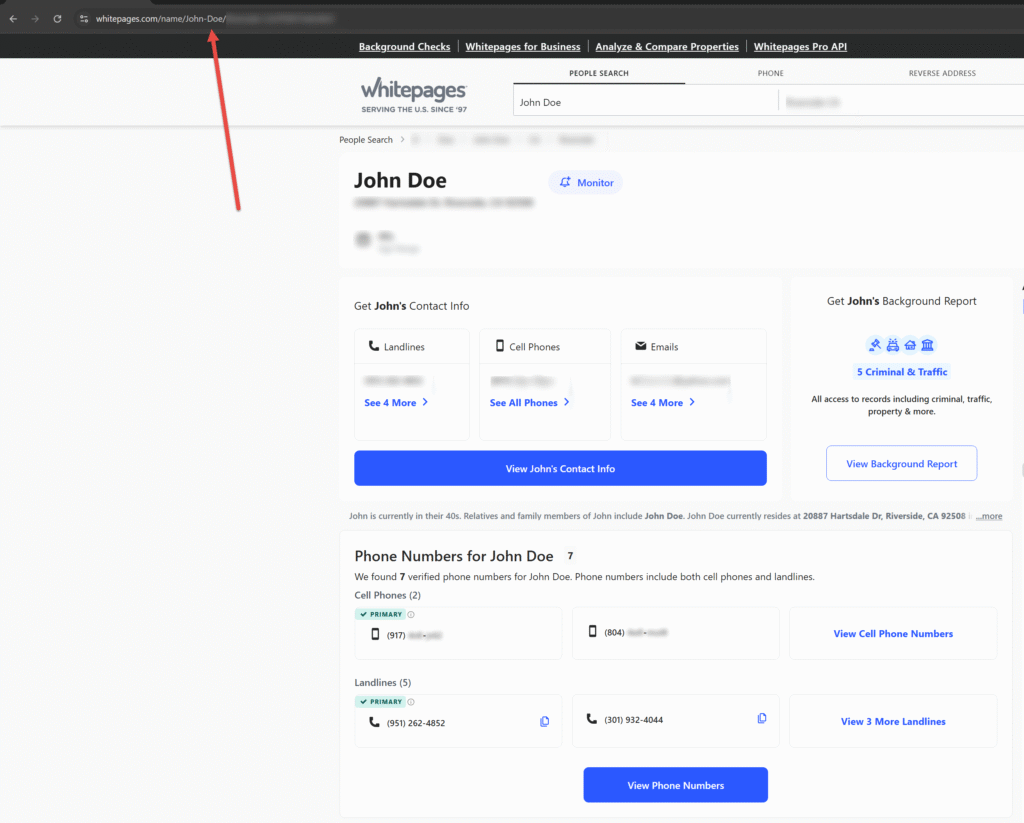
After clicking “View Details,” you’ll be taken to a page with your information. At the very top of your browser, copy the URL (the web address in the bar). This link is important because you’ll paste it into the Whitepages suppression request form in the next step.
Step 4. Visit the Suppression Request Page
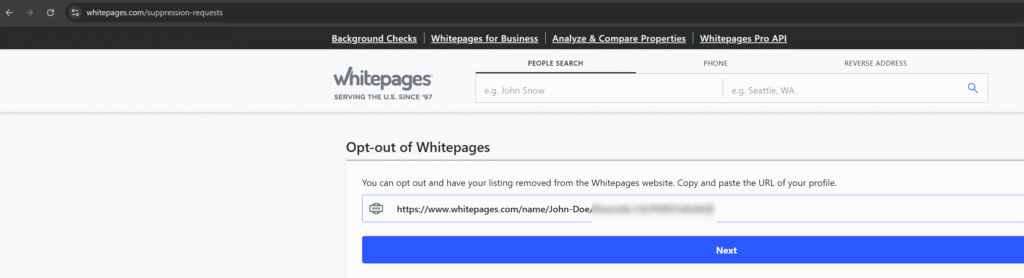
Go to the official Whitepages Suppression Request page
. This is the page specifically created for people who want to remove their personal information.
Paste the URL you copied in Step 3 into the provided field, then click Next.
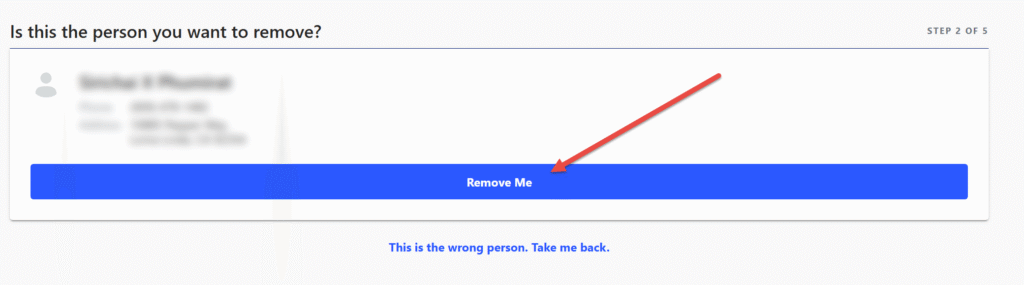
Step 5. Select ” Remove Me”
After submitting your URL, you’ll see an option that says Remove Me. This tells Whitepages you want your information taken down. Click on it to continue.
Step 6. Choose a Reason
Whitepages will ask why you want the information removed. There are several choices. For example:
Receiving spam or junk mail
Receiving unwanted phone calls
Privacy concerns
In my case, I selected “I am receiving spam and junk mailing,” but you should choose whichever option best matches your situation.

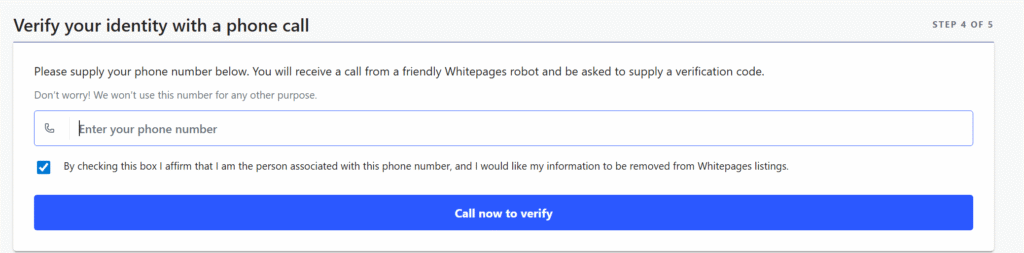
Step 7. Phone Number Verification
This is the step where some people hesitate. Whitepages requires a phone number for verification. The system will call or text you with a code to confirm that the request is legitimate.
Here are a few tips:
Do not use your personal number if you’re uncomfortable.
You can use a Google Voice number or another alternative phone service.
Once you receive the code, enter it into the form to complete verification.
Step 8. Wait for Removal
After verification, Whitepages will process your request. In most cases, your information will be removed within 24 to 48 hours. You can always check back by searching your name again to confirm.
Final Tips
Repeat for other states – If you’ve lived in multiple states, check Whitepages for listings in each one.
Check regularly – Whitepages and other data brokers may re-add information later, especially if it appears in public records again.
Consider opting out of multiple sites – Whitepages is just one of hundreds of data broker sites. Removing yourself from one site is a good start, but you may want to explore tools and services that help you opt out from many sites at once.